 Installation
Table of Contents
If you own a Tesla, the Wall Connector is the gold standard for home charging. It’s fast, sleek, and designed specifically for Tesla vehicles - but installing one involves more than just plugging something in. Before you call an electrician or schedule a Tesla-recommended installer, here’s what you need to understand about the process, the costs, and the decisions you’ll need to make.
What Is the Tesla Wall Connector?
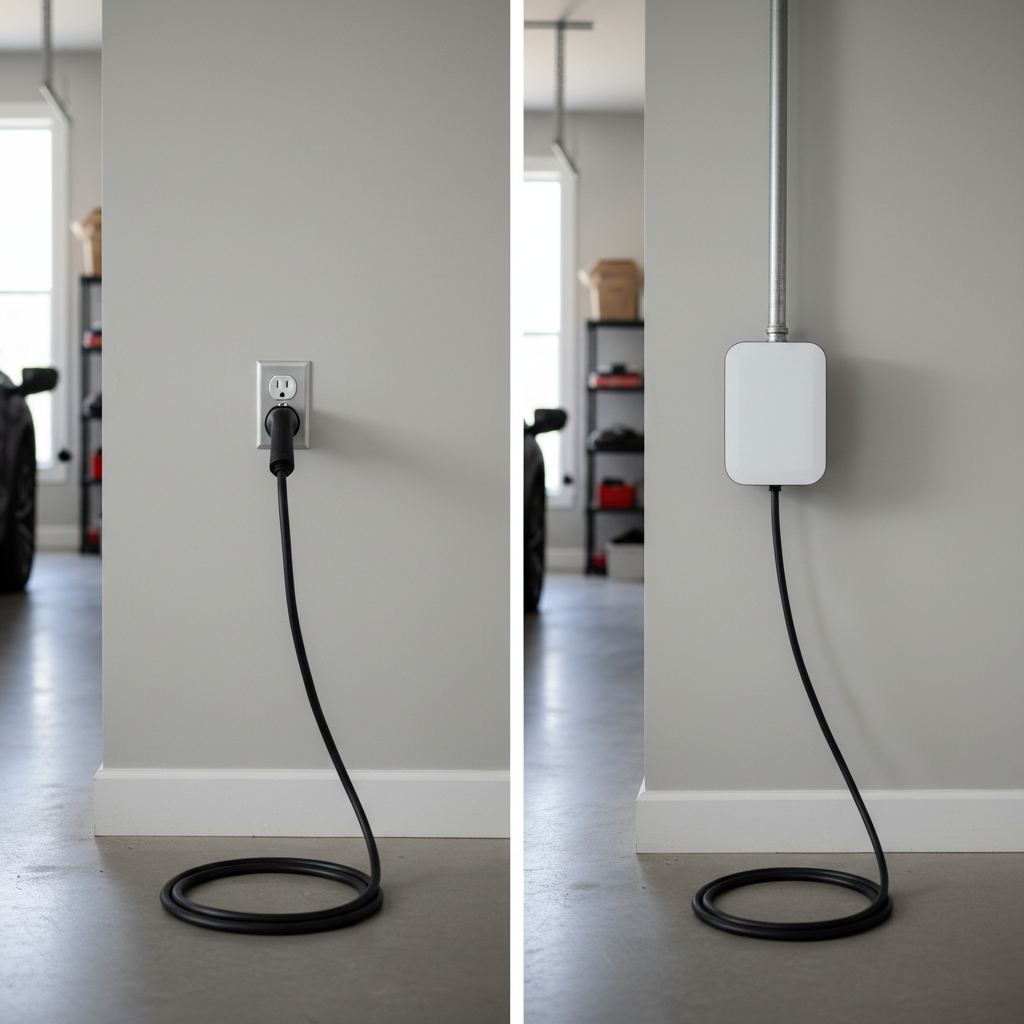
The Tesla Wall Connector is a Level 2 home charging unit that delivers up to 48 amps of power, giving you as much as 44 miles of range per hour of charging. It’s hardwired directly into your home’s electrical panel - not plugged into an outlet - which is what allows it to charge at full speed.
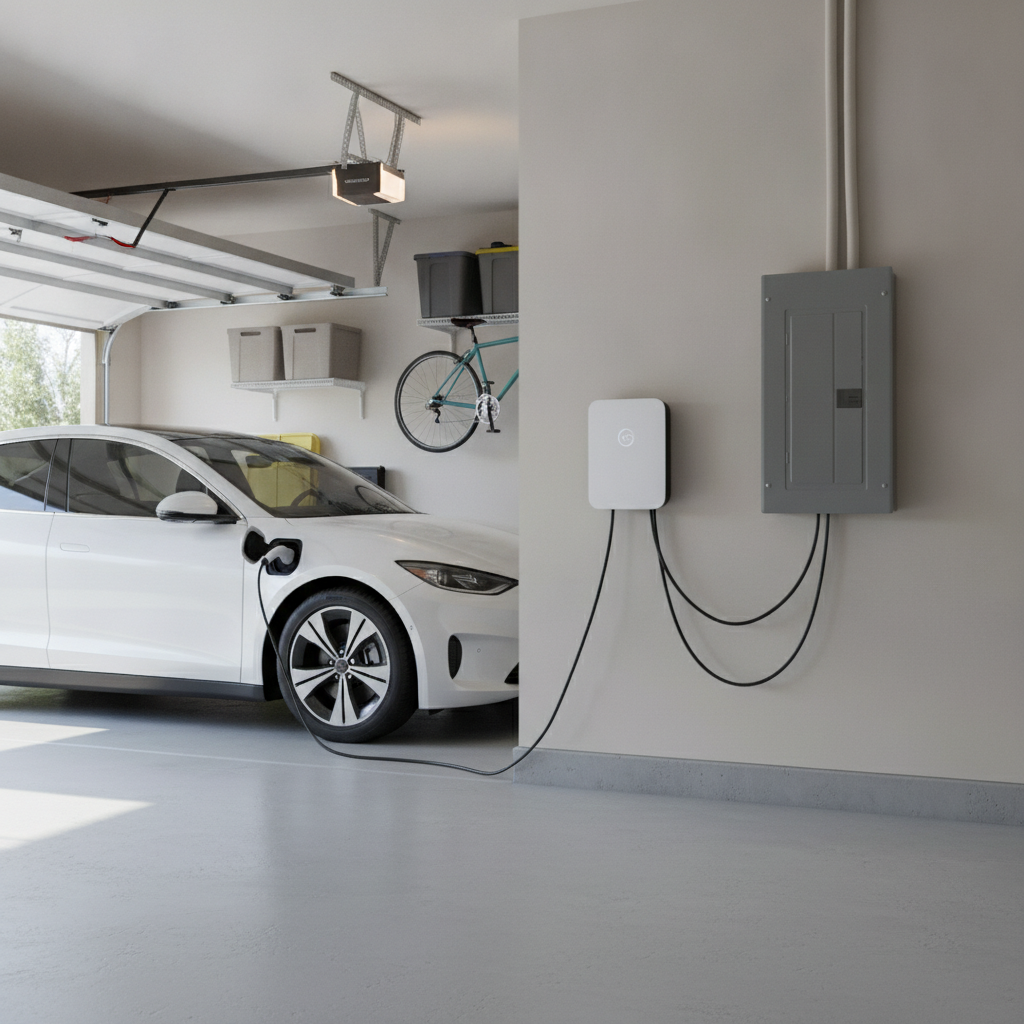
Compared to the portable Mobile Connector that comes with most Teslas (which uses a standard outlet), the Wall Connector is significantly faster and more convenient. It also looks better mounted on your garage wall.
The Wall Connector itself costs around $400 from Tesla. That’s just the hardware. Installation is a separate cost on top of that.
Electrical Requirements
This is where most homeowners get surprised. The Wall Connector requires a dedicated 240-volt circuit - the same type of circuit that powers your dryer or electric oven. If your garage doesn’t already have one, you’ll need one installed.
Here’s what that typically involves:
- Dedicated circuit breaker: A 60-amp breaker is standard for full-speed charging, though a 50-amp breaker is also common. The Wall Connector can be configured for whatever amperage your panel supports.
- Proper wire gauge: A 60-amp circuit requires 6-gauge wire at minimum. Longer runs from the panel to the garage may require thicker wire.
- GFCI protection: Required by the National Electrical Code in garages and outdoor locations.
- Panel capacity: Your existing electrical panel needs to have available capacity. If your panel is already near its limit, you may need a panel upgrade.
If your electrical panel is outdated or full, budget for a panel upgrade, which can add $1,500–$4,000 to the project.
How Much Does Installation Cost?
The total cost for a Tesla Wall Connector installation varies based on your home’s setup, but here’s a realistic range:
| Scenario | Estimated Cost |
|---|---|
| Existing 240V circuit nearby | $200–$500 |
| New circuit, short run | $400–$900 |
| New circuit, long run through walls | $800–$1,500 |
| Panel upgrade required | Add $1,500–$4,000 |
These are installation costs only - add $400 for the Wall Connector hardware itself.
The biggest variable is distance. If your electrical panel is on the opposite side of the house from your garage, the electrician has to run wire through walls, attics, or crawl spaces, which adds labor and material costs.
Should You Use a Tesla-Certified Installer or Your Own Electrician?
Tesla maintains a network of certified electricians through their website. These installers are trained specifically on Wall Connector installation and can often handle the permit process as part of their service. Tesla sometimes runs promotions that include installation, so check their website first.
That said, any licensed electrician can install a Wall Connector. It’s a standard hardwired Level 2 charger - there’s nothing exotic about the electrical work involved. Getting multiple quotes is smart, and a local electrician may be more affordable than a Tesla-certified installer while delivering the same result.
What matters most: the electrician must be licensed in your state and should pull the required permits. More on that below.
The Installation Process: Step by Step
Understanding what happens during installation helps you prepare and ask the right questions.
1. Site Assessment
A good electrician will assess your panel, measure the distance to the installation location, and check whether your panel has capacity for the new circuit. This can often be done during a free quote visit.
2. Permit Application
In most jurisdictions, an electrical permit is required. The electrician typically handles this, but confirm it’s included in your quote. Permits exist so an inspector can verify the work is done safely.
3. Wiring the Circuit
The electrician runs new wire from your panel to the installation location, installs the breaker, and mounts a junction box or bracket for the Wall Connector.
4. Mounting and Hardwiring the Wall Connector
The Wall Connector mounts to the wall and connects directly to the wiring - no plug involved. The electrician makes the final connections inside the unit.
5. Configuration and Testing
The Wall Connector has a configuration switch inside the unit that sets the maximum amperage. The electrician sets this based on your breaker size. Tesla also provides a smartphone app that can configure and monitor the charger.
6. Inspection
An electrical inspector visits to verify the installation meets code. This is usually a quick visit and is part of the permit process.
What to Prepare Before Installation Day
- Decide on location: Most people mount it in the garage, but it can also be installed outside. Think about cable length - the Wall Connector’s cable is 24 feet long, so it needs to reach your car’s charge port.
- Clear the area: Make sure the electrician can access the panel and the installation wall without moving a lot of your stuff.
- Know your panel location: The electrician will need to run wire from your panel to the charger. Knowing where your panel is helps them assess the job.
- Ask about permits upfront: Confirm the electrician will pull permits and schedule the inspection.
Does the Tesla Wall Connector Work With Other EVs?
The latest generation Tesla Wall Connector uses Tesla’s proprietary connector on one end. However, Tesla now offers a version with a J1772 adapter built in, and newer Teslas use the NACS port that’s becoming the North American standard. If you have a non-Tesla EV, the Wall Connector is not the right choice - look at universal Level 2 chargers instead.
Maximizing Your Investment
A few things worth considering once installation is planned:
Time-of-use electricity rates: Many utilities charge less for electricity during off-peak hours (typically overnight). The Wall Connector can be scheduled through the Tesla app to charge during these windows, potentially saving you $20–$50 per month depending on your usage and utility rates.
Solar integration: If you have or plan to install solar panels, Tesla’s ecosystem integrates the Wall Connector with Powerwall and Tesla Energy systems for optimized charging from solar production.
Future-proofing: Even if you currently drive a Tesla with a smaller battery, installing a 60-amp circuit now means you won’t need electrical upgrades if you ever switch to a longer-range vehicle.
Frequently Asked Questions
Can I install the Tesla Wall Connector myself? Technically, homeowners can do their own electrical work in some jurisdictions, but this is not recommended. The work involves a high-amperage 240-volt circuit, and errors can cause fires or electrocution. More importantly, DIY electrical work often voids your homeowner’s insurance and can create problems when you sell the home. Hire a licensed electrician.
How long does installation take? Most installations take 2–4 hours. Longer runs or panel work can extend this to a full day.
Do I need a permit for a Tesla Wall Connector? In most cities and counties, yes. An electrical permit is required for any new circuit installation. Your electrician should handle this - confirm it’s part of their quote.
What if my panel is full? A licensed electrician can assess your panel and recommend options: sometimes a tandem breaker can free up space, but often a panel upgrade is the cleanest solution if you’re adding significant electrical load.
Can I use the Wall Connector in a power outage? No. The Wall Connector, like all grid-tied chargers, does not function during a power outage. If you want backup charging capability, that requires a separate energy storage system.
How many miles of range does the Wall Connector add per hour? At full 48-amp output, approximately 44 miles of range per hour. Most people charge overnight and wake up to a full battery regardless of how depleted it was.
What’s the difference between the Tesla Wall Connector and a NEMA 14-50 outlet? A NEMA 14-50 outlet (like you’d use for a dryer) delivers charging via the Mobile Connector at a slower rate - typically 30–37 miles per hour. The Wall Connector is hardwired and delivers up to 44 miles per hour at full amperage. The Wall Connector is also more reliable for daily charging as it’s designed for that purpose.
Sponsored
Need Help With Your EV Charger?
Get expert guidance on installation, costs, and the right charger for your home.
Get Your Free EstimateNeed Help With Your EV Charger?
Get expert advice on the right charger, installation requirements, costs, and how to maximize your savings.