 EV Charging
Table of Contents
Level 2 vs Level 3 EV Chargers: What Homeowners Actually Need
You just bought an EV (or you’re about to), and now you’re trying to figure out the charging situation. You’ve seen Level 1, Level 2, and Level 3 thrown around, and you’re wondering what actually makes sense for your home.
Here’s the short version: Level 2 is almost certainly what you need. But let’s break down why, what each level actually means, and what’s involved in getting a home EV charger installation done right.
A Quick Overview of EV Charger Levels
The “level” of an EV charger refers to how much power it delivers, which directly determines how fast it charges your car. Here’s the breakdown.
Level 1: The Wall Outlet
- Power: 120 volts, standard household outlet
- Charging speed: About 3 to 5 miles of range per hour
- Equipment: The portable charger that came with your car
- Installation cost: Nothing, you just plug it in
Level 1 charging uses the basic 120V outlet you already have in your garage. Every EV comes with a Level 1 charging cord, so technically you can start charging the day you bring the car home.
The catch? It’s slow. Really slow. If you drive 40 miles a day and plug in overnight for 10 hours, you’ll get roughly 30 to 50 miles of charge back. That might be fine if you have a short commute and a plug-in hybrid. But for a full battery EV with daily driving, you’ll likely find yourself falling behind.
Level 1 works as a temporary solution or a backup, but most EV owners outgrow it within a few weeks.
Level 2: The Home Charging Sweet Spot
- Power: 240 volts (same as your dryer or oven)
- Charging speed: About 25 to 40 miles of range per hour
- Equipment: Dedicated EVSE (charging station), either hardwired or plug-in
- Installation cost: Typically $500 to $2,000 including the charger and electrical work
Level 2 is the standard for residential EV charger setups, and for good reason. At 25 to 40 miles of range per hour, you can fully charge most EVs overnight. Plug in when you get home, wake up to a full battery. It’s the closest thing to the gas station experience, except you never have to go to one.
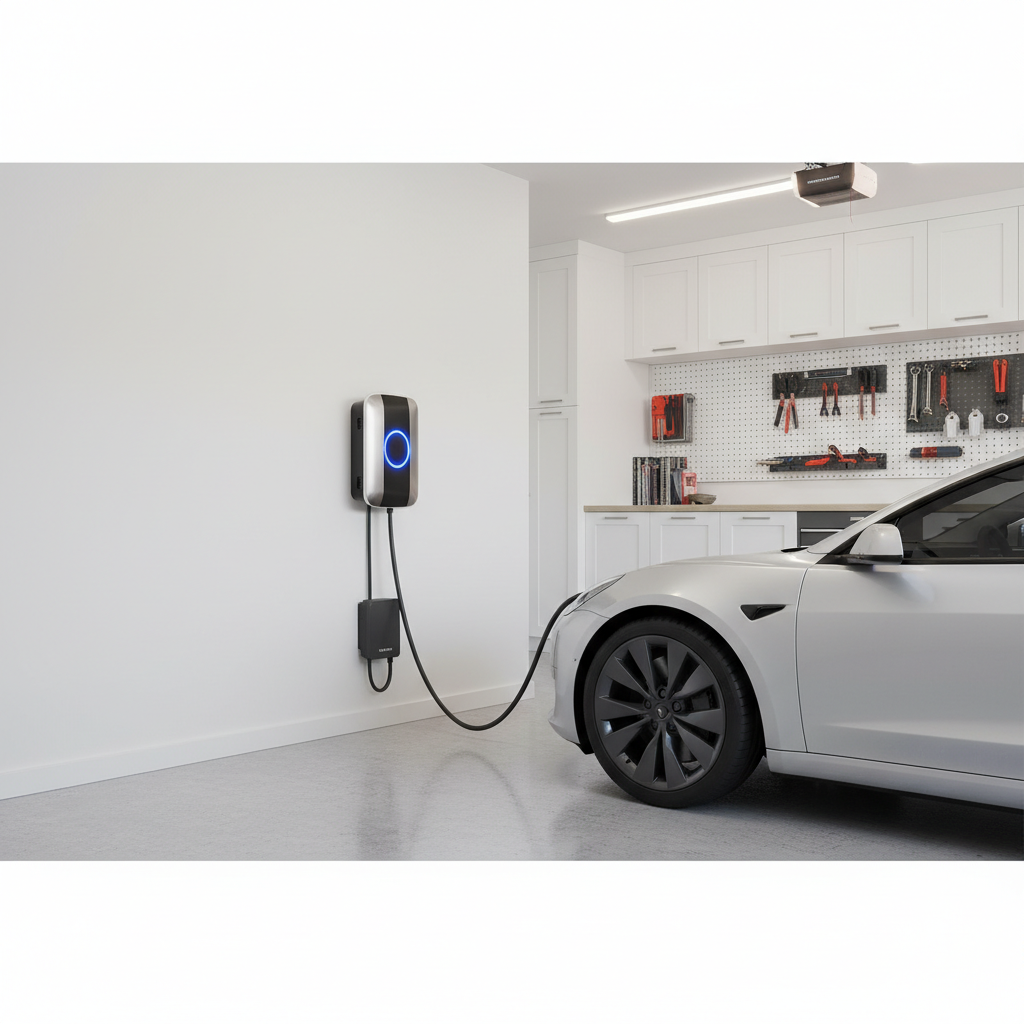
A Level 2 charger runs on a 240-volt circuit, the same kind of circuit that powers your clothes dryer or electric range. Installation involves running a dedicated circuit from your electrical panel to wherever you want the charger mounted (usually the garage or exterior wall near your driveway).
Most Level 2 home chargers draw between 32 and 48 amps, and they need a dedicated 50 or 60-amp breaker depending on the unit.
Level 3: The Commercial Fast Charger
- Power: 400 to 900+ volts DC
- Charging speed: 100 to 200+ miles of range in 20 to 30 minutes
- Equipment: Large, commercial-grade DC fast charging stations
- Installation cost: $50,000 to $150,000+
- Available for homes: No
Level 3 chargers, also called DC Fast Chargers (DCFC), are what you find at public charging stations along highways and in commercial areas. They’re incredibly fast, but they require industrial-grade electrical infrastructure that residential properties simply don’t have.
We’re talking about 480-volt three-phase power, massive electrical service upgrades, specialized cooling systems, and equipment that weighs hundreds of pounds. The cost starts around $50,000 and goes up from there.
So when you see the Level 2 vs Level 3 EV charger comparison, just know that Level 3 isn’t a realistic option for your home, and you don’t need it to be.
Why Level 2 Is the Right Choice for Homeowners
Let’s put some real numbers to it.
Say you drive 50 miles per day, which is above the national average. With a Level 2 charger delivering 30 miles of range per hour, you’d need less than 2 hours of charging to replace what you used that day. Plug in at 8 PM, and by 10 PM you’re fully topped off.
Even on heavy driving days of 100+ miles, an overnight charge on Level 2 covers it easily.
The Practical Benefits
- Charge overnight during off-peak electricity rates. Many utility companies offer lower rates at night, which means cheaper “fuel.”
- Start every morning with a full battery. No more gas station stops, ever.
- No wear from DC fast charging. Frequent Level 3 charging can degrade your battery faster over time. Level 2 is gentler on battery health.
- Smart features. Most modern Level 2 chargers have WiFi, scheduling, and energy monitoring built in. You can set them to only charge during the cheapest electricity hours.
- Increases home value. A professionally installed EV charger is a selling point as more buyers go electric.
What’s Involved in a Home EV Charger Installation
Getting a Level 2 charger installed isn’t a massive project, but it does require a licensed electrician. Here’s what the process typically looks like.
Step 1: Electrical Panel Evaluation
Your electrician will check whether your current panel can support the additional load. A Level 2 charger needs a dedicated 40 to 60-amp circuit, and if your panel is already near capacity, you might need an upgrade.
Homes with 100-amp service (common in older construction) often need a panel upgrade to 200 amps to accommodate an EV charger alongside existing loads like AC, electric cooking, and laundry.
Step 2: Choosing the Right Charger
Popular residential EV charger options include:
- ChargePoint Home Flex: Up to 50 amps, adjustable output, WiFi enabled
- Grizzl-E: Affordable, durable, great for cold climates
- Tesla Wall Connector: Ideal for Tesla owners, sleek design, up to 48 amps
- Emporia Energy Smart Charger: Budget-friendly with energy monitoring
- JuiceBox 48: Smart features, solar integration option
Your electrician can help you pick based on your car, your driving habits, and your electrical setup.
Step 3: Installation
The electrician will:
- Install a dedicated breaker in your panel
- Run the appropriate gauge wire from the panel to the charger location
- Mount the charging station (either hardwired or with a NEMA 14-50 outlet)
- Test everything and make sure it’s up to code
- Pull any necessary permits
The whole job usually takes half a day for a straightforward installation. More complex runs (long distances from panel to garage, panel upgrades, trenching for outdoor runs) can take longer.
Typical Costs
- Charger unit: $300 to $700
- Basic installation (short run, panel has capacity): $200 to $500
- Installation with longer wire run or sub-panel: $500 to $1,500
- Panel upgrade to 200 amps (if needed): $1,500 to $3,000
Don’t forget to check for federal tax credits. The federal EV charger tax credit (under Section 30C) can cover up to 30% of equipment and installation costs, up to $1,000 for residential installations. Some states and utilities offer additional rebates.
Common Questions Homeowners Ask
Can I install a Level 2 charger myself?
Technically, some plug-in models just need a NEMA 14-50 outlet (like a dryer outlet). But running a new 240V circuit to your garage is electrical work that should be done by a licensed electrician. It involves your main panel, proper wire sizing, and code compliance. Not a DIY job.
Will an EV charger overload my house?
Not if it’s installed correctly on a dedicated circuit. Your electrician will do a load calculation to make sure your panel can handle it. If it can’t, a panel upgrade or a smart charger with load management solves the problem.
Can I charge in the rain or snow?
Yes. Level 2 chargers and EV charge ports are designed to be weatherproof. Outdoor installations are completely normal and safe.
How long until a home charger pays for itself?
The average American spends about $150 to $200 per month on gas. Charging an EV at home typically costs $30 to $60 per month in electricity. That’s $100+ in monthly savings, so most home charger installations pay for themselves within a year.
The Bottom Line
The Level 2 vs Level 3 EV charger debate really isn’t a debate at all for homeowners. Level 3 is built for commercial use and highway travel. Level 2 is built for homes, and it does the job perfectly.
If you’re driving an EV and still relying on Level 1 charging or making regular trips to public chargers, a home Level 2 installation is one of the best quality-of-life upgrades you can make. It’s convenient, cost-effective, and simpler to install than most people expect.
The first step is having an electrician evaluate your panel and charger location. From there, you’re usually just a few hours of installation away from never visiting a gas station again.
Sponsored
Need Help With Your EV Charger?
Get expert guidance on installation, costs, and the right charger for your home.
Get Your Free EstimateNeed Help With Your EV Charger?
Get expert advice on the right charger, installation requirements, costs, and how to maximize your savings.